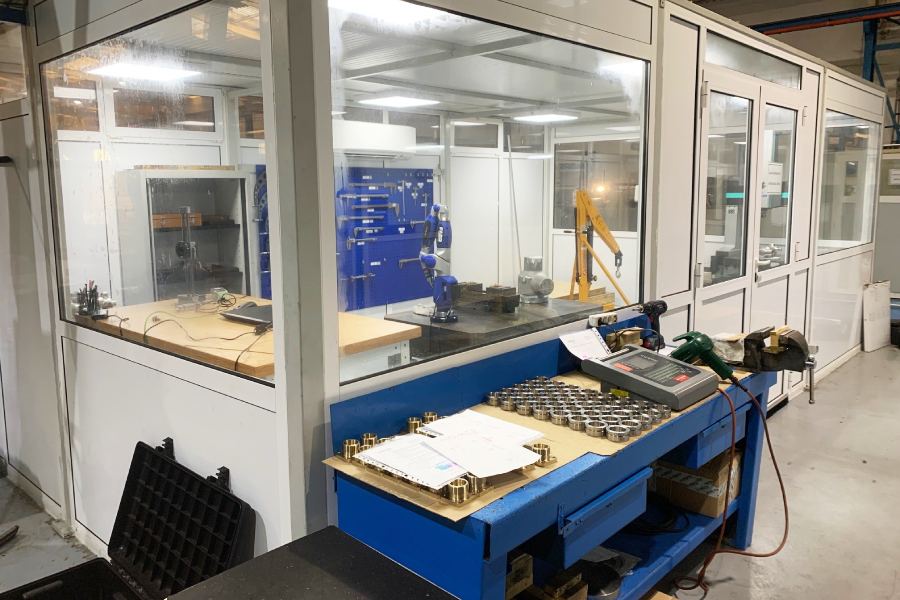
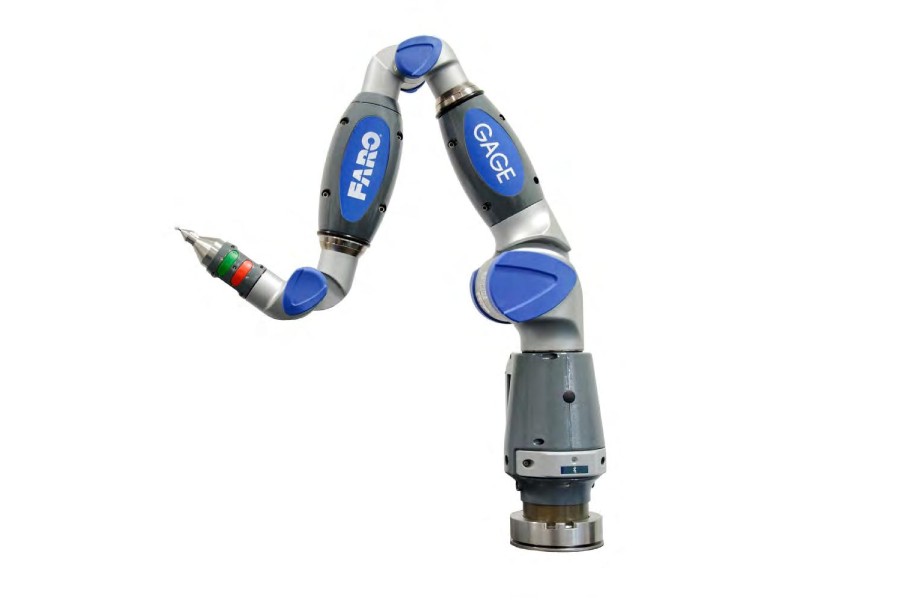
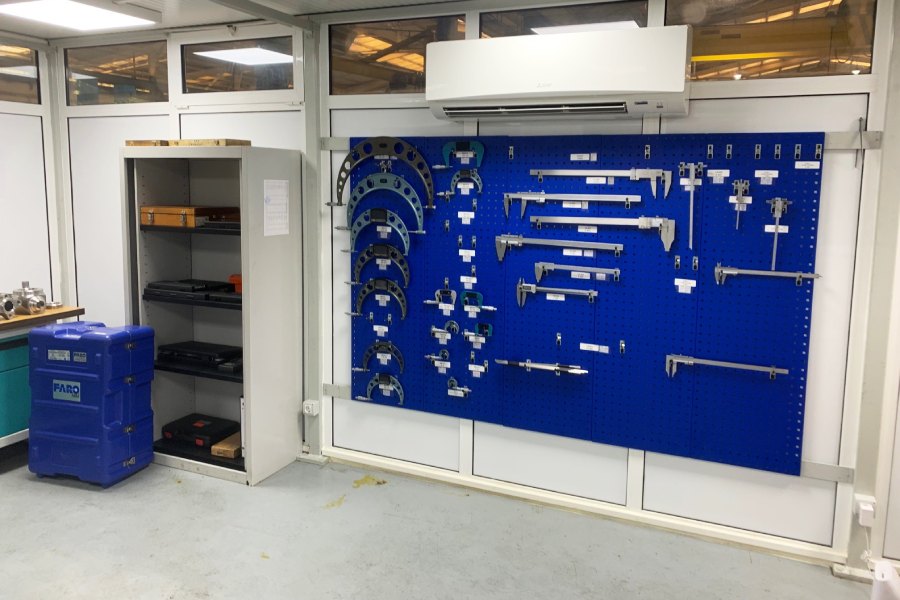
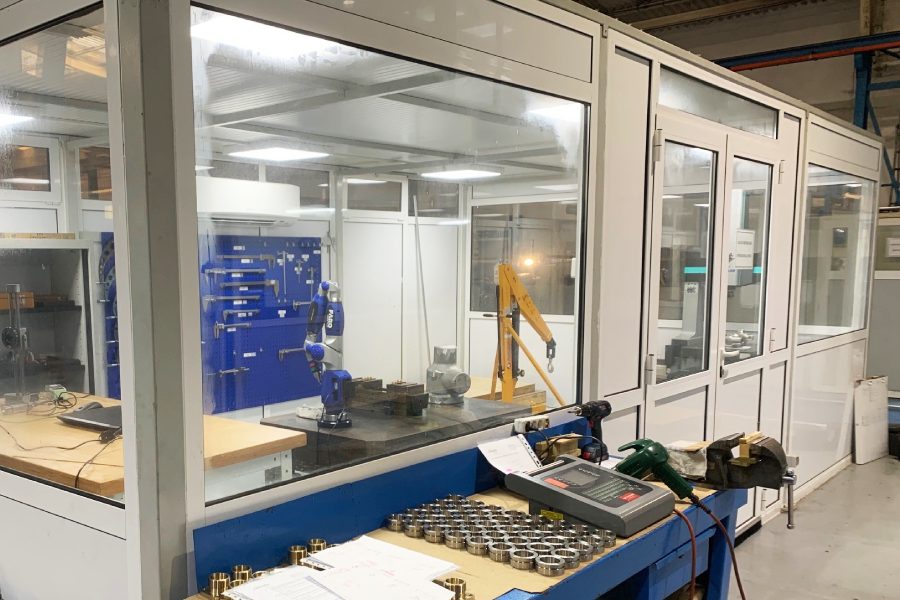
The Metrology and Quality Inspection Room is the response to the need to carry out precise calibrations, measurements, and mechanical processes in controlled environments at temperatures as close as possible to 20°C, using cutting-edge technology, and with the utmost attention to achieving the objectives required by the client, even from an aesthetic perspective.
In our article, we emphasize the importance of maintaining high-quality standards in industrial production. To ensure precision in measurements and evaluations, consider the possibility of integrating advanced equipment, such as those available at the Trevisan Machining Center, which can optimize operations and contribute to the improvement of quality and efficiency.
Discover in our metrology room how Industry 4.0 and the CNC machining revolution are transforming the way we measure and ensure quality at Asimer Group. This shift towards Industry 4.0 is clearly reflected in the excellence of precision achieved in our metrology room, where advanced technologies, including CNC machining, are fundamental. This machining method not only ensures the manufacturing of high-quality measuring instruments but also plays a crucial role in maintaining the stringent standards of inspection and quality in the industry.
As mentioned earlier, temperature is the crucial element when it comes to measurement results; in fact, 20°C serves as the reference temperature for the geometric specifications of the components.
The air conditioning system must also meet precision requirements, especially for three-dimensional measuring machines (CMM).

The air conditioning system must also meet the accuracy requirements, especially for three-dimensional measuring machines (CMM).
The most common activities that take place in a metrology laboratory are:
- Performing precision dimensional measurements with test and measurement equipments.
- Calibration of measuring instruments

This is due to the fact that the measurement of the products must be carried out in an atmosphere with regular temperature and humidity to prevent these products from suffering variations in size and dimension.
In order to guarantee the correct measurement and calibration of products, a metrology room must meet specific characteristics and standards. Some examples are:
- The ISO/IEC 17025 standard, entitled “General requirements for the competence of testing and calibration laboratories”, expresses the need for the work areas of the laboratories to comply with the technical requirements established for the equipment and the performance of the activities .
- The UNE EN ISO 1: 2003 standard establishes that the reference temperature for the geometric specifications of products must be 20 °C.
Another important point to mention within the metrology and quality inspection room is that energy efficiency in industrial valves plays a fundamental role. The importance of optimizing energy consumption in these valves used in measurement and quality control systems in the industry cannot be underestimated. Proper selection and maintenance of industrial valves not only ensure precise and reliable operation of measurement equipment but also significantly contribute to reducing operational costs and environmental sustainability in industrial operations. Energy efficiency in these valves translates into substantial resource savings and increased competitiveness in the market, making investment in technologies and practices that promote energy efficiency a priority for any metrology and quality inspection room committed to excellence and environmental responsibility.
Metrological traceability chain
In metrology or the science of measurements, traceability is the ability to relate the results of an individual measurement to national or international standards through an uninterrupted chain of comparisons, called a traceability chain (VIM 2012)
No measurement is completely accurate. Any kind of instrument or equipment, even if it is perfectly used , can only record a measurement with limited accuracy and precision. Therefore, every measurement has a degree of uncertainty, which indicates the quality of the result.
An accredited laboratory can ensure the accuracy of its measurements through traceability because its standards are calibrated with precision and accuracy.
Measurements should be as accurate and precise as possible. But how can a laboratory guarantee that the result of a measurement has a certain degree of uncertainty? This is precisely the purpose of traceability.
Therefore, the breaking point to keep in mind to check if a calibration provides metrological traceability are:
- Documented calibration procedure
- calibration chain
- Provider’s technical competence
- Intervals between calibrations
- Uncertainty calculation
Metrology and Quality Inspection Room at Asimer Group
Our Metrology room is controlled at constant temperature (20º C) and humidity (70%) for the control of very high smooth measurements according to the following criteria;
Measurement Range
In measurements, the range refers to the interval of values of a measure that a certain instrument is able to measure. For example, if a thermometer measures between -30ºC and 50ºC its range is 80º.
A larger range will make the measuring instrument a more versatile product.
The range is a variable that depends directly on the use of the instrument. We will not need an equal range if we want to measure the interior ambient temperature, the exterior ambient temperature or the cooking temperature of a food inside the oven.
Resolution
The resolution is the minimum variation of the measured magnitude that gives rise to a perceptible variation of the indication of the corresponding value. In other words, the resolution indicates the minimum value from which we will notice a variation or jump in the measurement of what we are measuring.
For example, if the resolution of a thermometer is 1ºC, the measurement will be 1,2,3,4,5… and so on. If the resolution is 0.5ºC, the measurement will be 0; 0.5;1;1.5; two; 2.5; etc… The resolution is independent of the range, but it is true that instruments with a greater range have a lower resolution, both in analog and digital levels.
In digital instruments, the resolution is always higher than in analogic instruments. It is common for digital instruments to display decimal (0.1), centesimal (0.01), thousandths (0.001) or even lower measurements. The resolution is related to the sensitivity of the instrument.
Calibration
The Calibration of a Measurement Equipment consists of the comparison between the value measured by a Standardized pattern and the value given by the Measurement Equipment by a method that guarantees metrological traceability to a standard formally recognized by the «International Bureau of Weights and Measures» (BIPM).

Metrology at Asimer Group
Asimer Group recognizes the importance of metrology and our customers trust us for using high quality measurement instruments and technologies backed by the latest metrology knowledge. Our Metrology rooms helps us to minimize the product measurement uncertainty and ensures the continuous development of our in-house testing capability. We ensure accurate measurements as we maintain and develop continuous improvement.
We are specialized in accuracy check control, maintaining the required temperature and humidity control.
Our metrology room is designed to enhance measurement precision and reduce measurement uncertainty due to temperature and humidity fluctuations. Every detail is crucial, from measuring components to meticulous quality evaluation. This is particularly relevant in industries where precision is paramount, such as in the manufacturing of needle control valves. Our commitment to excellence in metrology and quality allows us to ensure that these essential industry components meet the most stringent requirements.
In the world of CNC machining, where precision is the cornerstone of every manufactured product, metrology and quality inspection play a crucial role. From dimension verification to tolerance assessment, these processes ensure that every produced component meets required standards. Discover how the integration of chip removal machining in the CNC era can further optimize these inspection processes and ensure quality at every step of the way.
Starting from the previous engineering product to the final machining and/or assembly, Asimer Group works closely with each customer to develop the most appropriate solution for the operational expectatives for each project
If your next project requires working with the best specialists in precision, contact us and our team will contact you.


